r

How to set the cap frame.|Preparation for embroidery on cap
If you are using the cap frame for the first time, this video is perfect! Watch it even if you forget how to do it.
INDEX
Attaching the cap frame unit to the machine
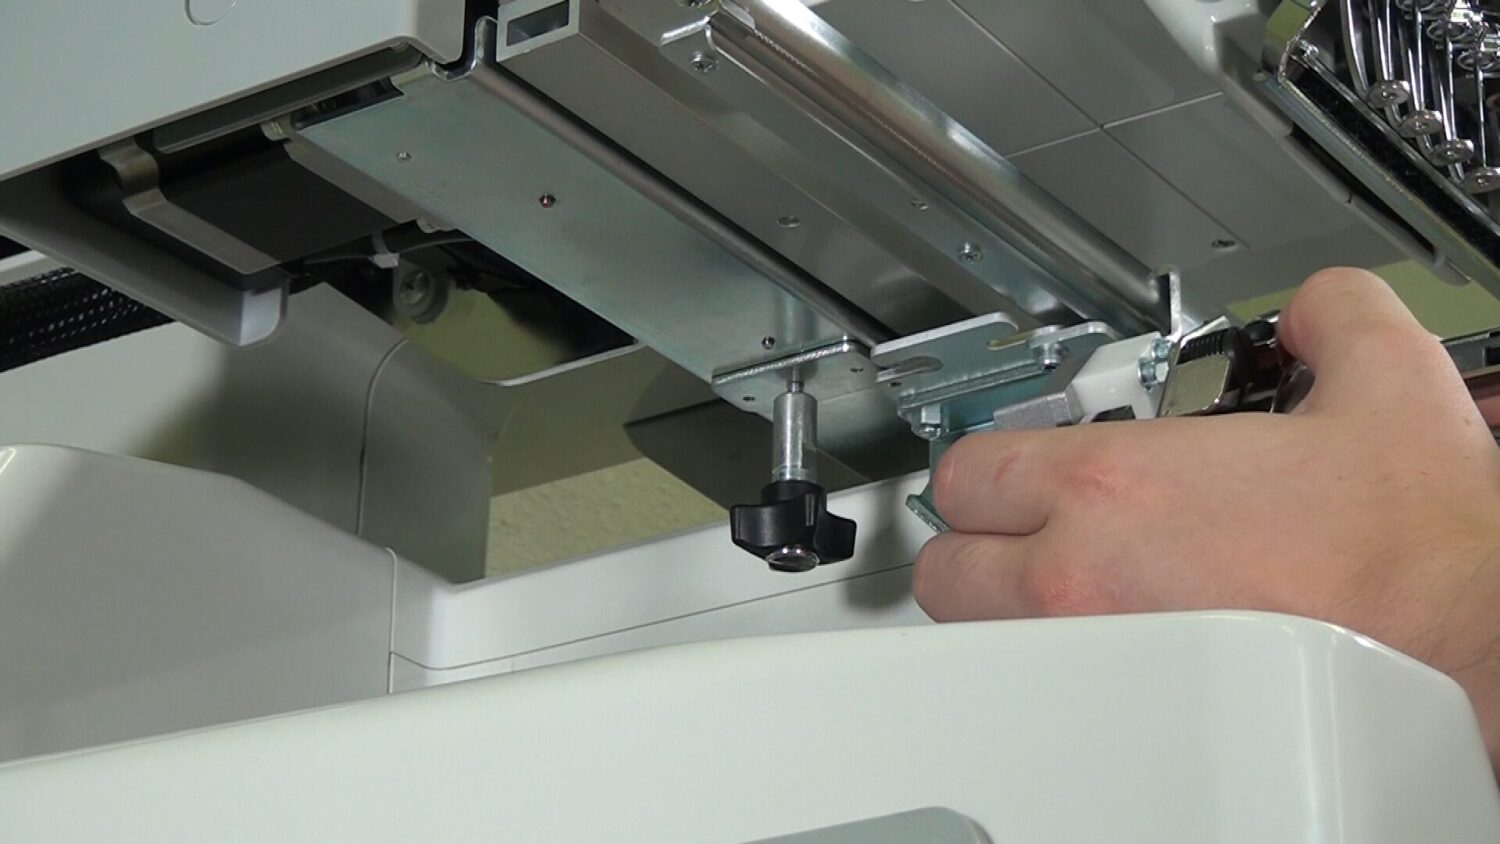
Loosely screw in the knobbed screws to the attaching base
on the lower side of the frame drive system.
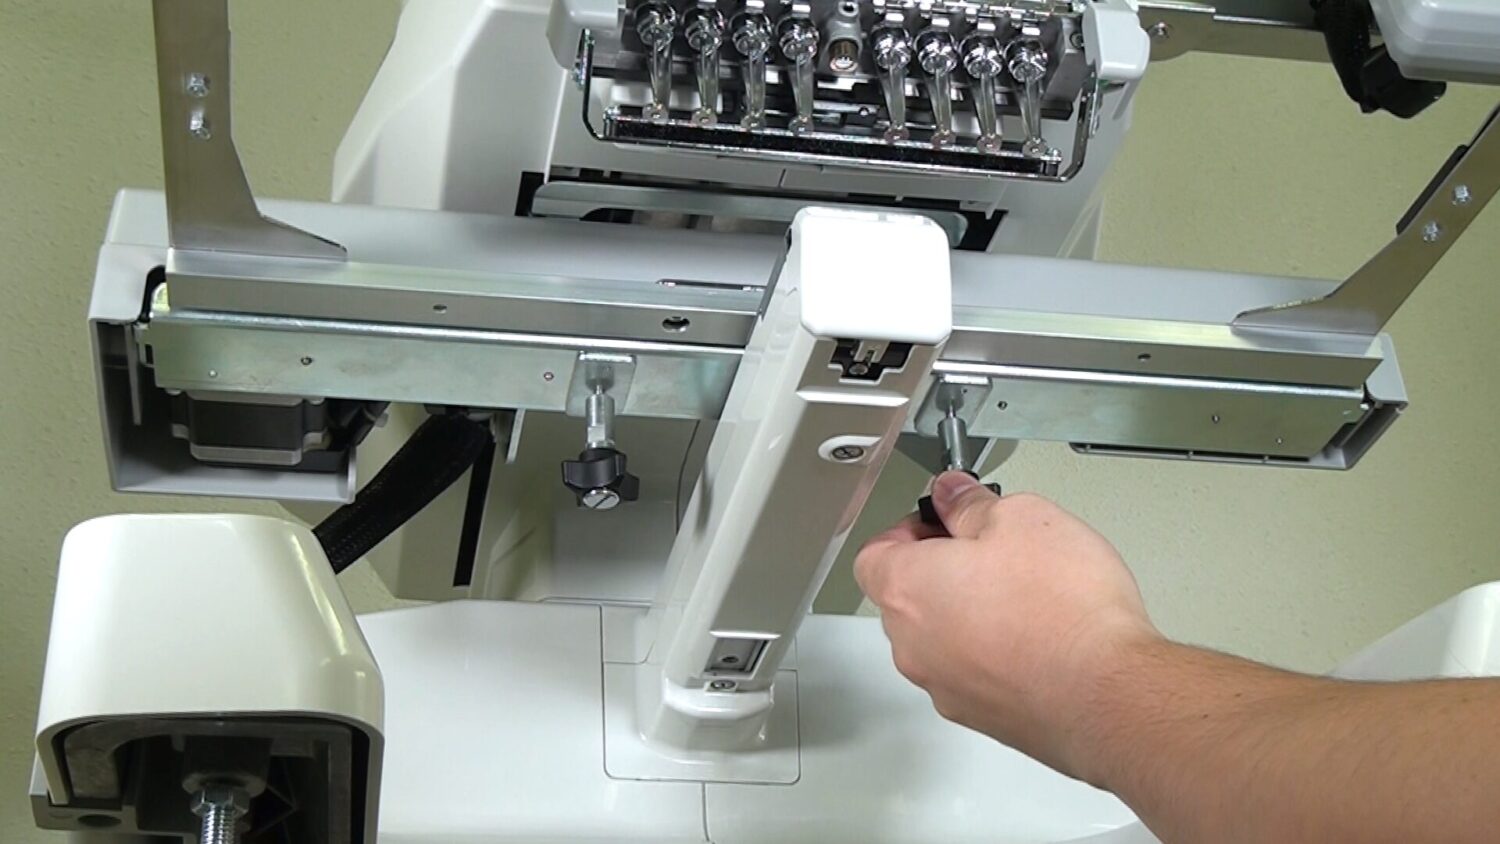
Fasten the attached ring shaft with screws.
If it is installed straight, it is perfect!
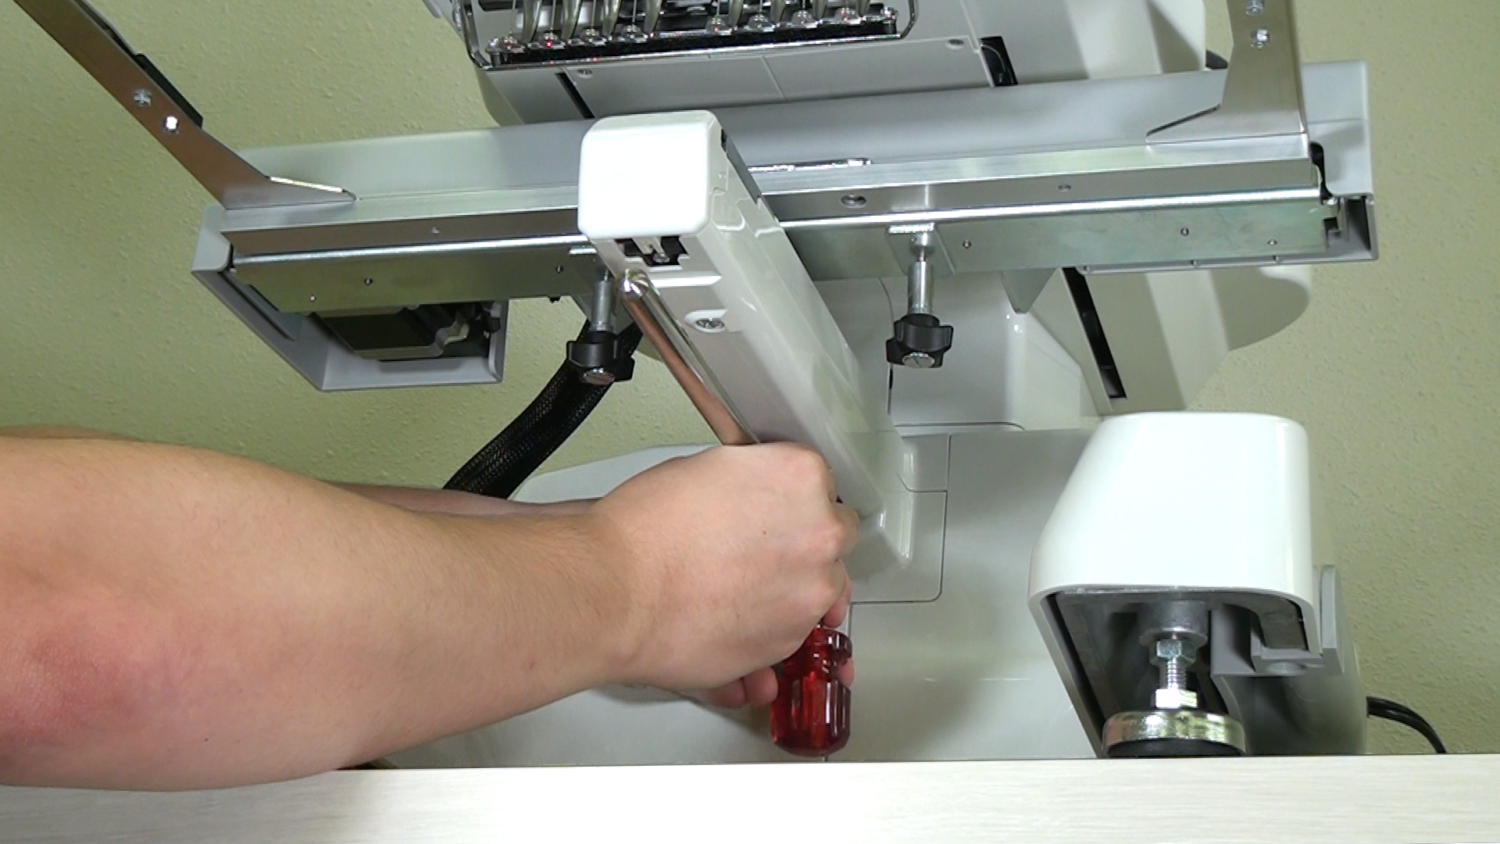
Slide in the cap frame unit until it cannot be pushed in any further. Then, fasten the knobbed screws.
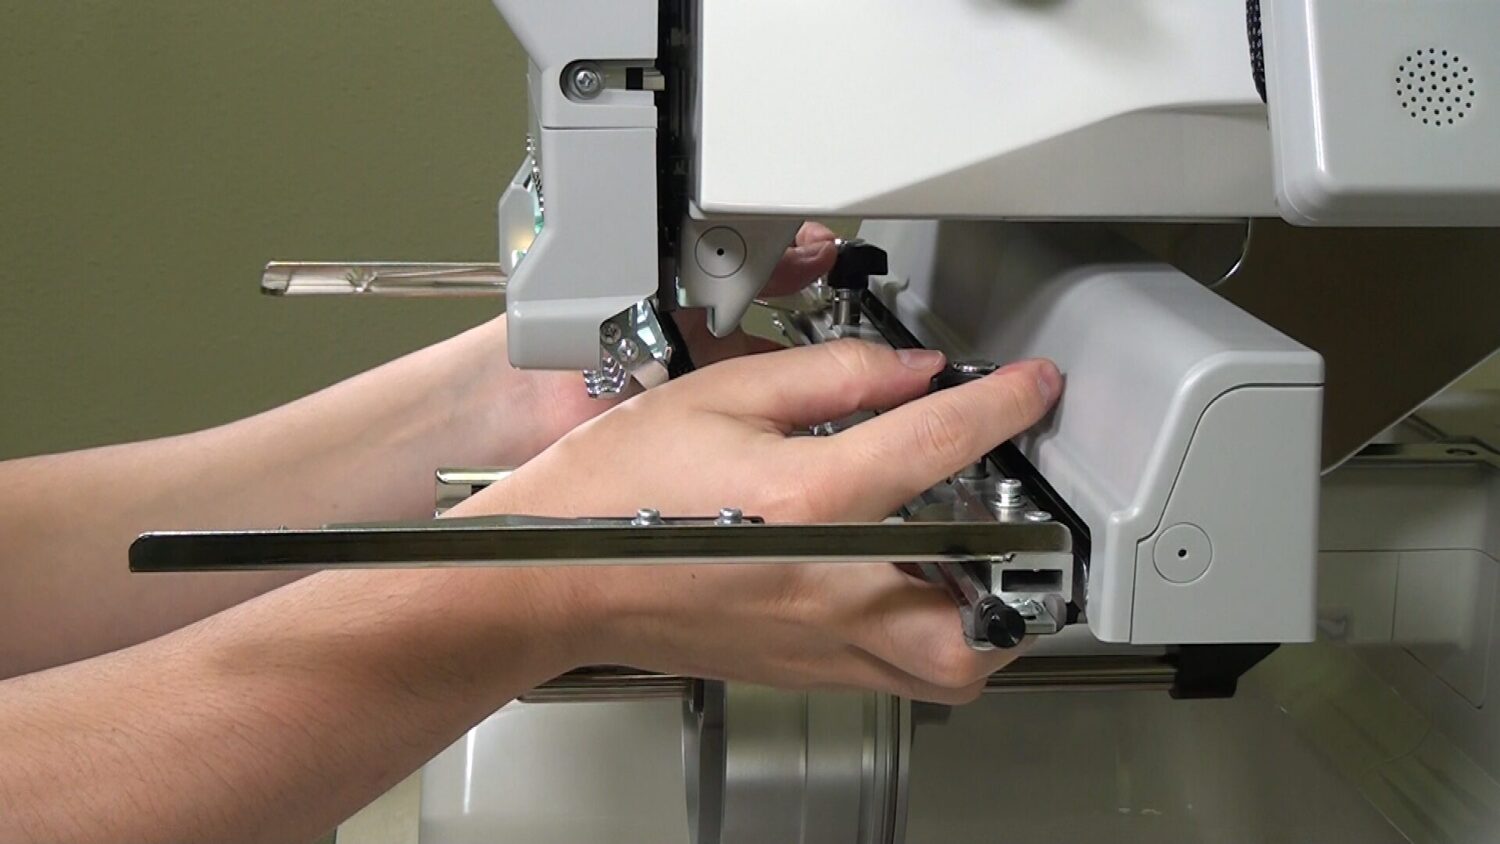
Turn the cap frame unit right and left to move the connecting sash to confirm that its movement is not heavy.
Installation of the cap frame unit is completed!
Positioning a cap on the cap frame
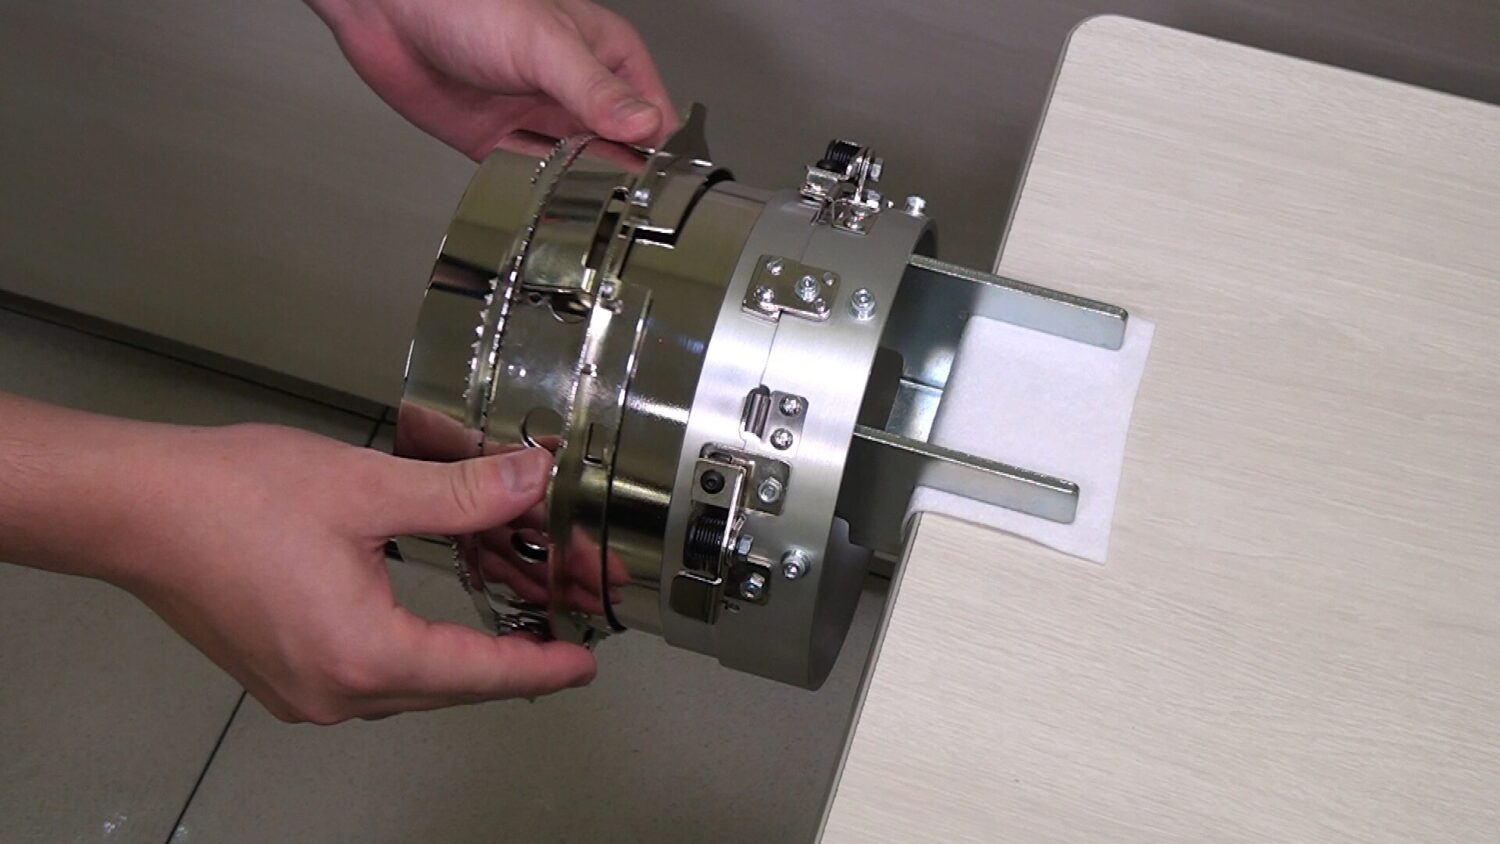
Place the cap frame over the circular part of the gauge.
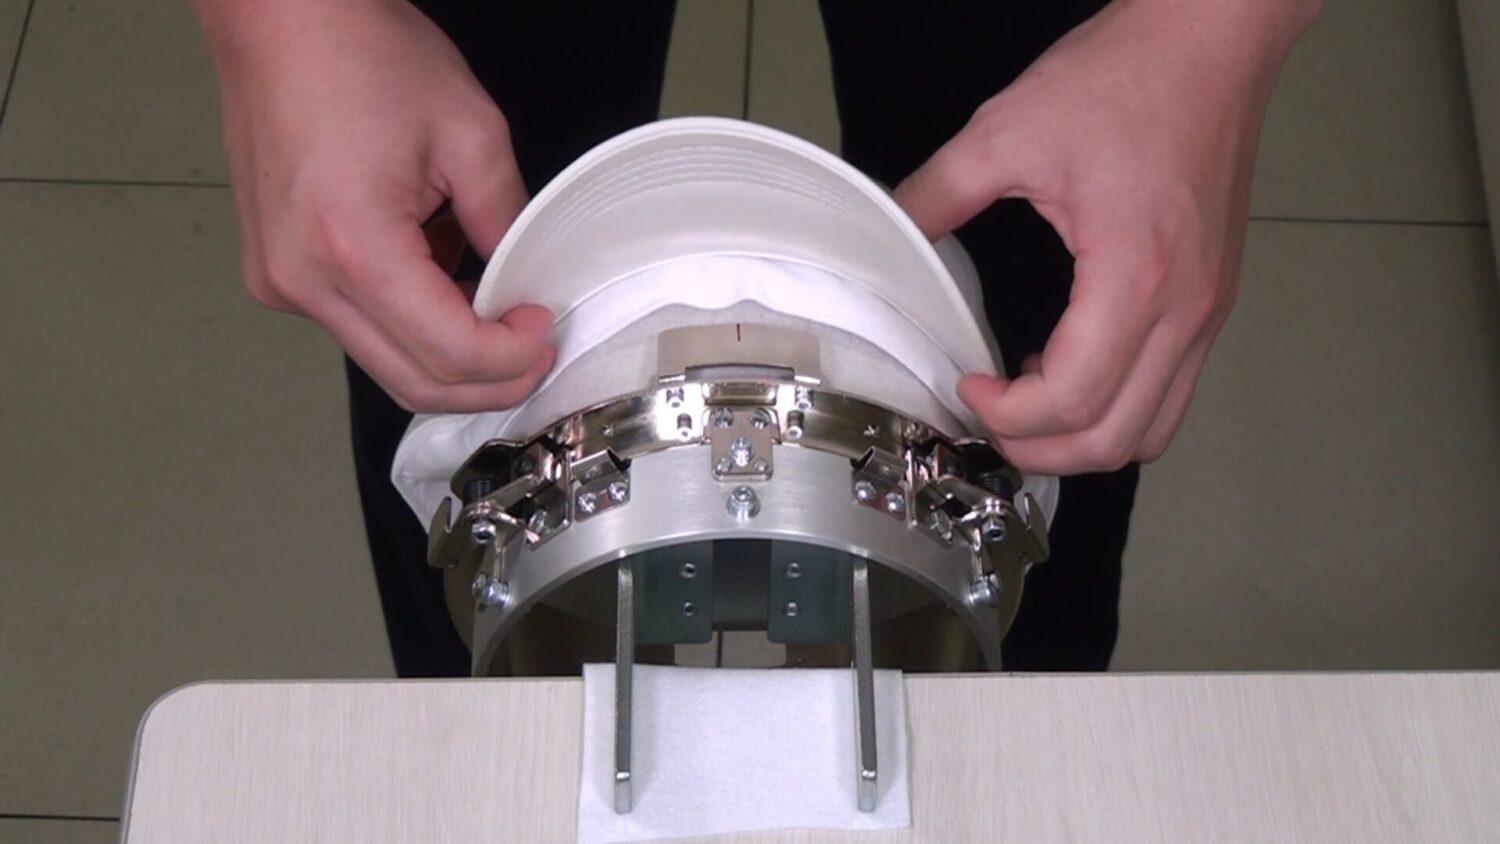
Pull out the sweatband from the cap so it is on the outside. Push the cap in until the visor reaches the forward edge of the holder.
While using the clip, secure the hat so that it does not move.
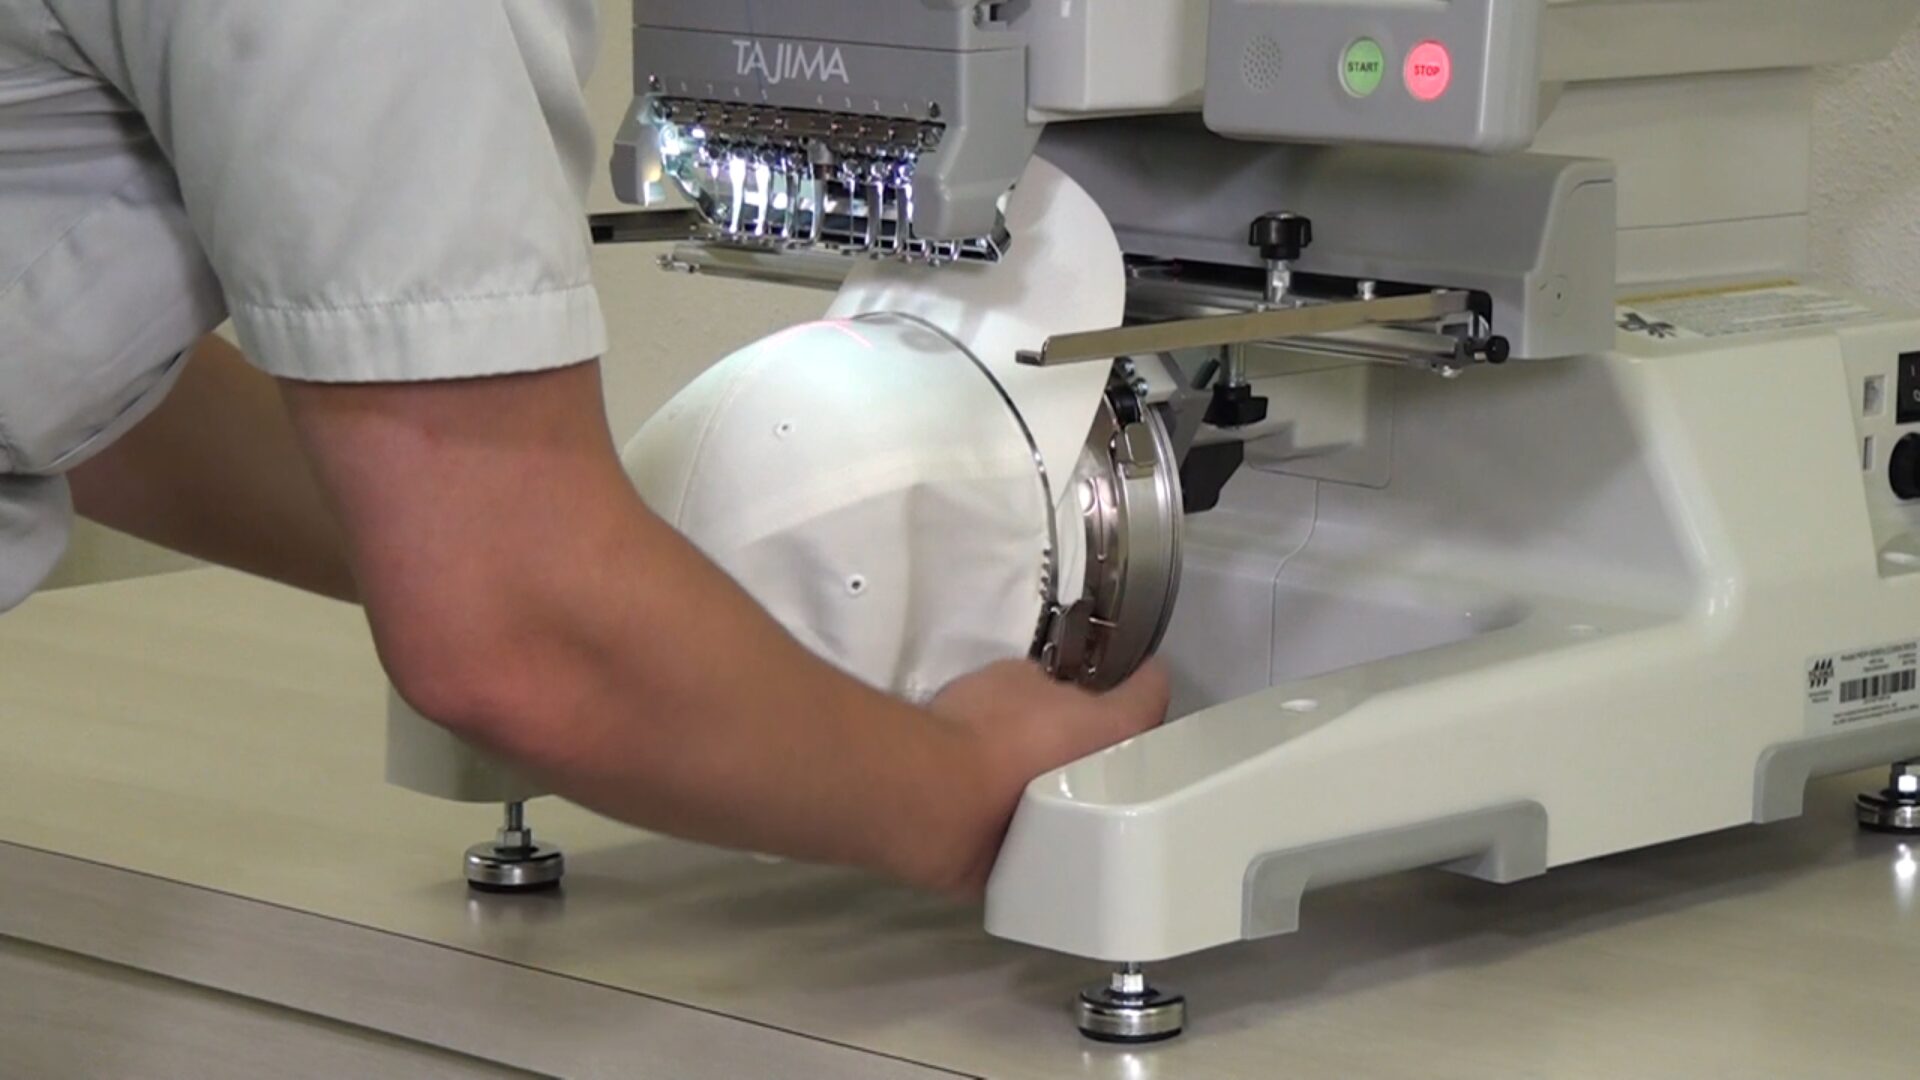
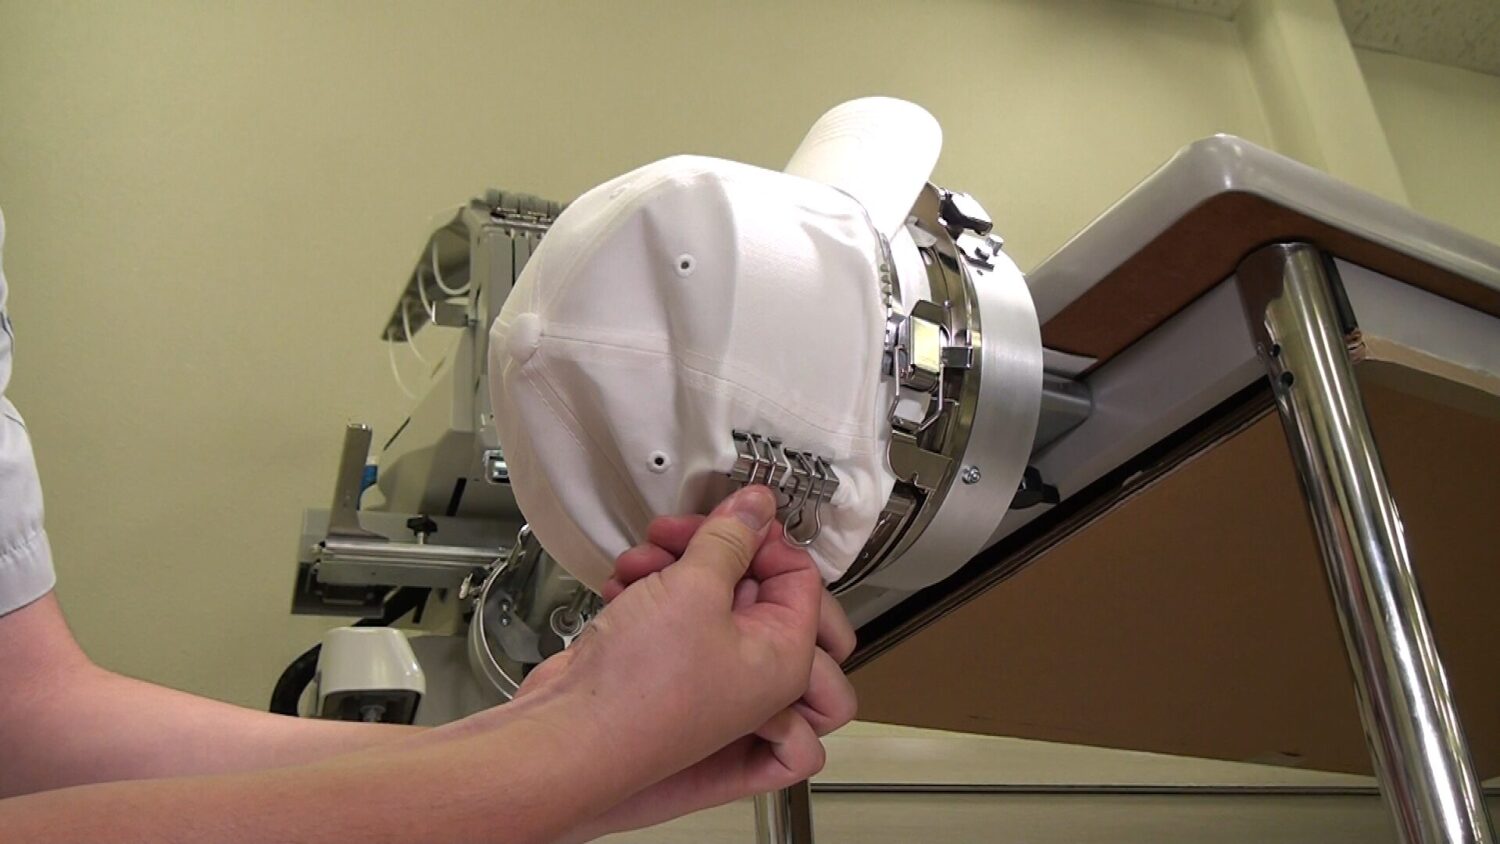
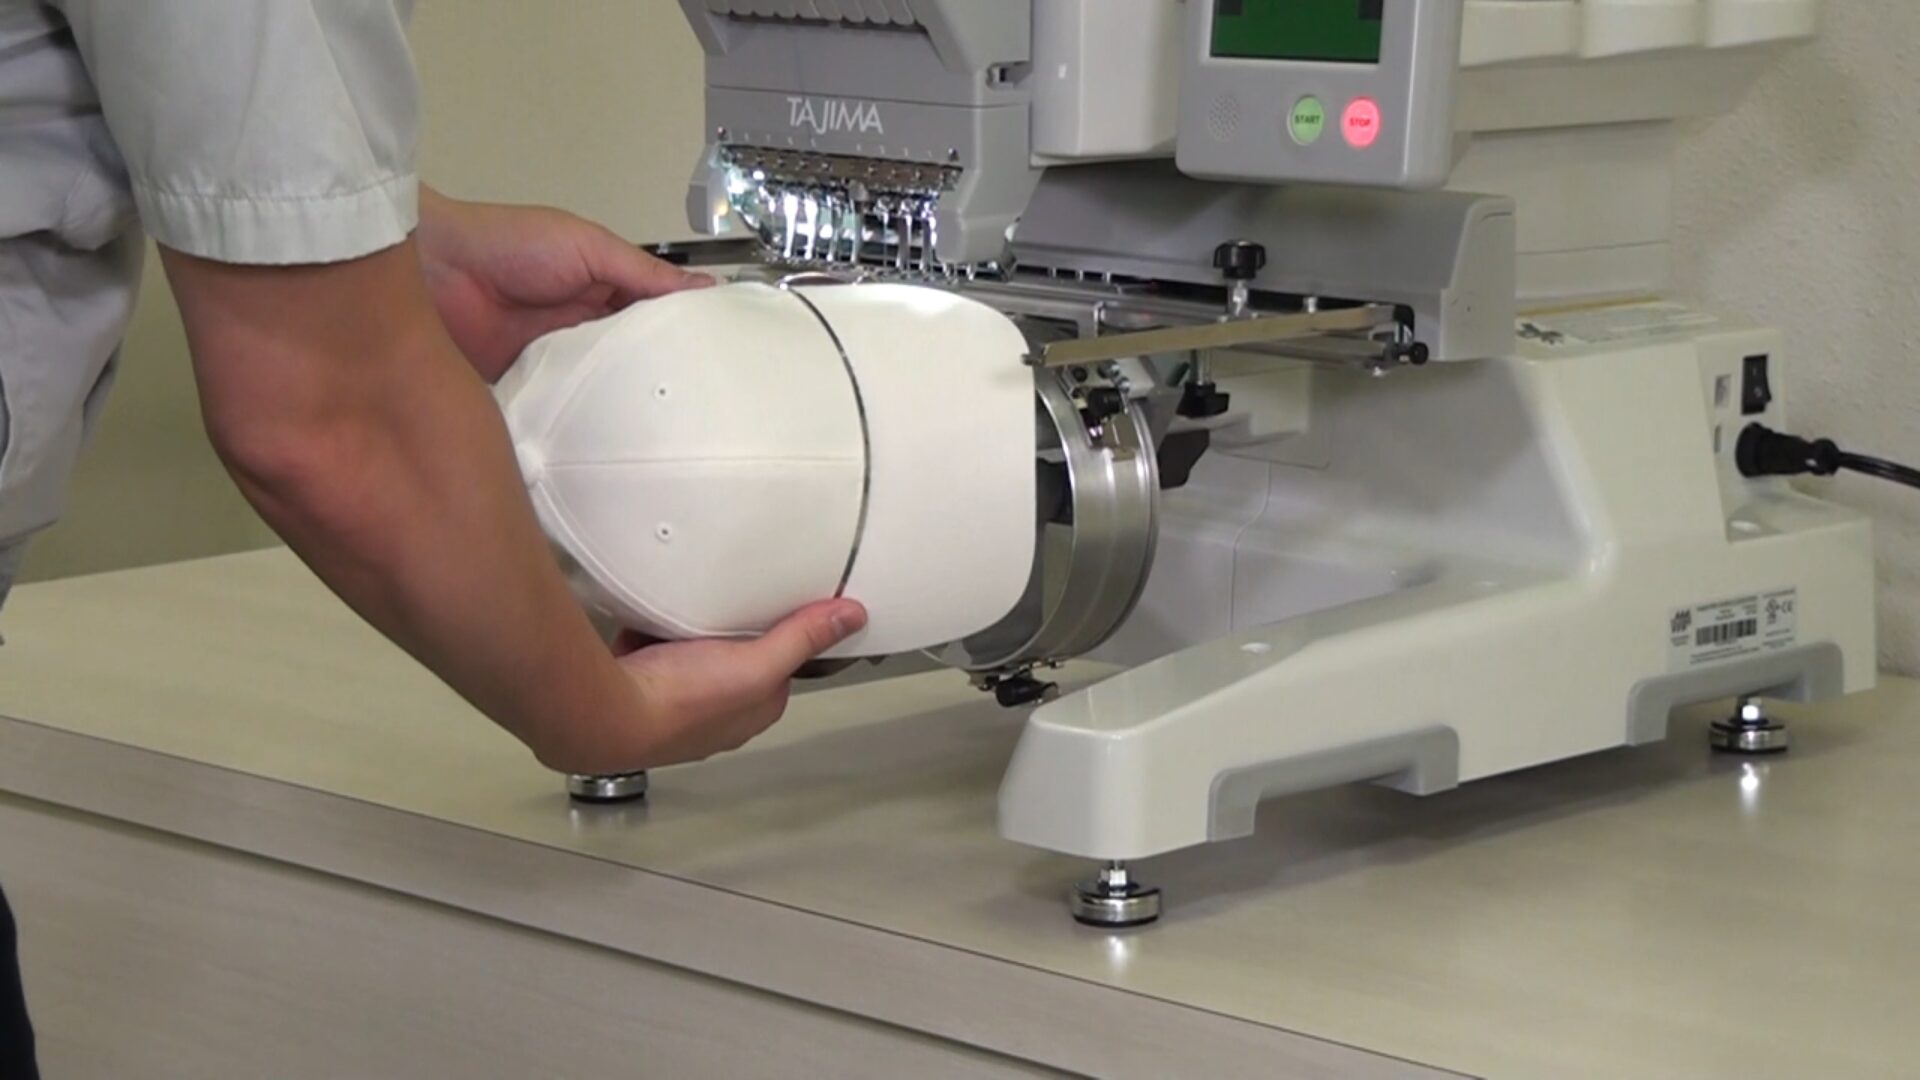
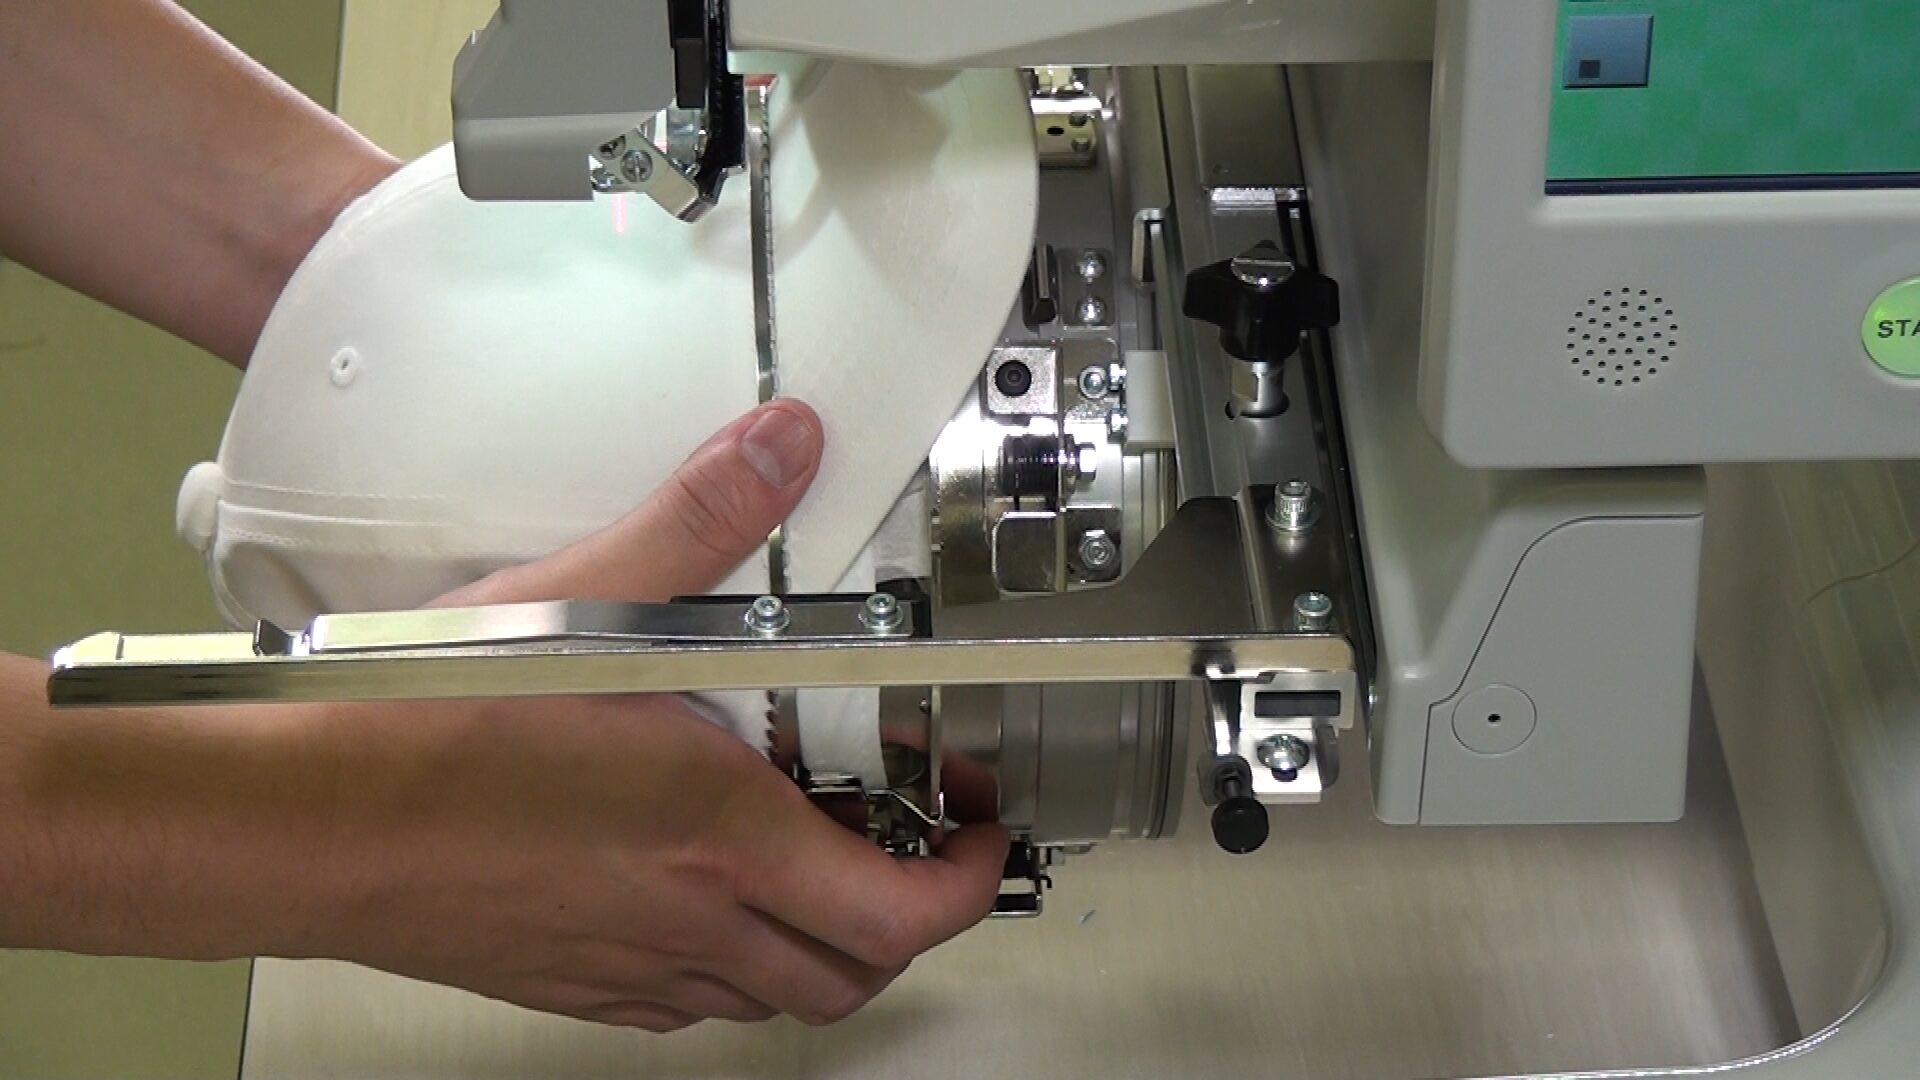
Positioning the cap frame on the cap frame unit
Insert the frame into the unit while turning the cap to the right so that the visor does not hit the machine. Keep pushing in until the three lock levers click into place and the cap frame is secured. The cap frame set is completed.
We have shown you how to set the cap frame! Please check out the YouTube video for detailed instructions.
We also show you Tips for Beautiful 3D Puff Embroidery on Caps in a separate video!
TIPS RECOMMEND